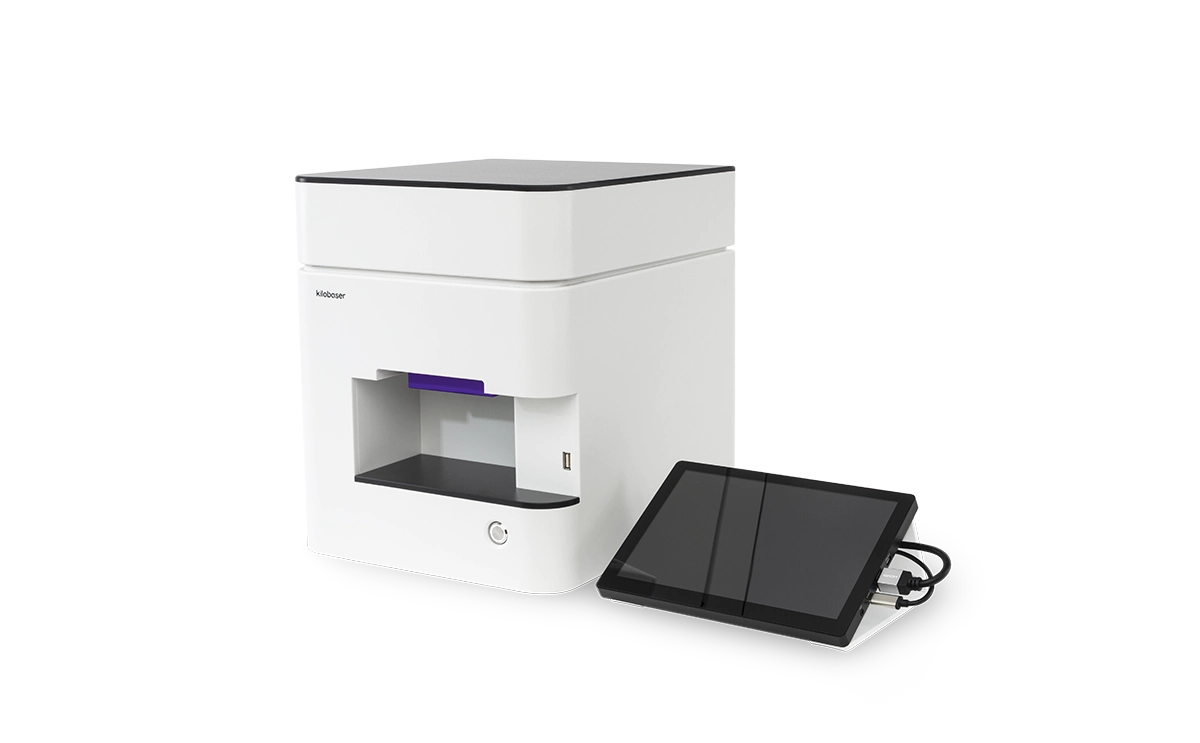
How to unbox & set up Kilobaser DNA & RNA Synthesizer?
Congratulations on your decision to smoothen your daily lab routine. You finally have your own DNA synthesizer and the freedom to plan your projects and experiments independently!
Hear from Lisa-Marie
Before you start synthesizing, Lisa-Marie shows you how to unpack Kilobaser and install it properly.
how to unbox and set up Kilobaser
The package contains:
Short set-up instruction
Wrench for pressure regulator
6mm pneumatic gas tubing
Power cable
Power supply
Display
USBC to USB-A cable
WIFI stick
HDMI to mini-HDMI cable
Pressure regulator with output barometer and gas adapter G1/4
Kilobaser device
Placeholder (inside the device)
Note:
All connectors are on the back of the Kilobaser.
Step 1:
Connect display
To connect the display, plug the USB-C cable and the HDMI cable into the Kilobaser.
If you want to context your Kilobaser to the internet, plug in the WLAN USB in the USB port on the back of the Kilobaser.
Step 2:
Connect gas supply
You must connect a gas supply to Kilobaser for it to work. We highly recommend argon or nitrogen gas.
Use your houseline or a 1/10/50 l (200 bar) argon or nitrogen gas bottle. First, attach the provided pressure regulator to the gas source and tighten it with the enclosed wrench.
Afterwards, connect one end of the blue 6mm O.D. flexible gas tubing to the pressure regulator and the other end to the 6mm push-in connector of Kilobaser.
Set the outlet pressure between minimum 6 bar and maximum 10 bar
Step 3:
Connect power
Plug in the power cable on the back of your Kilobaser, connect it with the power supply.
Finally, you can plug in your Kilobaser and turn it on.
further steps and information
Perfect, your Kilobaser is now ready for the first DNA synthesis! Here, Alex will show you what to do next. If you have more questions about the gas connection, Alex will tell you more in this video.
You want to learn more about Kilobaser?
You are only 3 steps away from your ready-to-use DNA. Take a closer look and let us explain all the details in your exclusive demo!

Share this article: