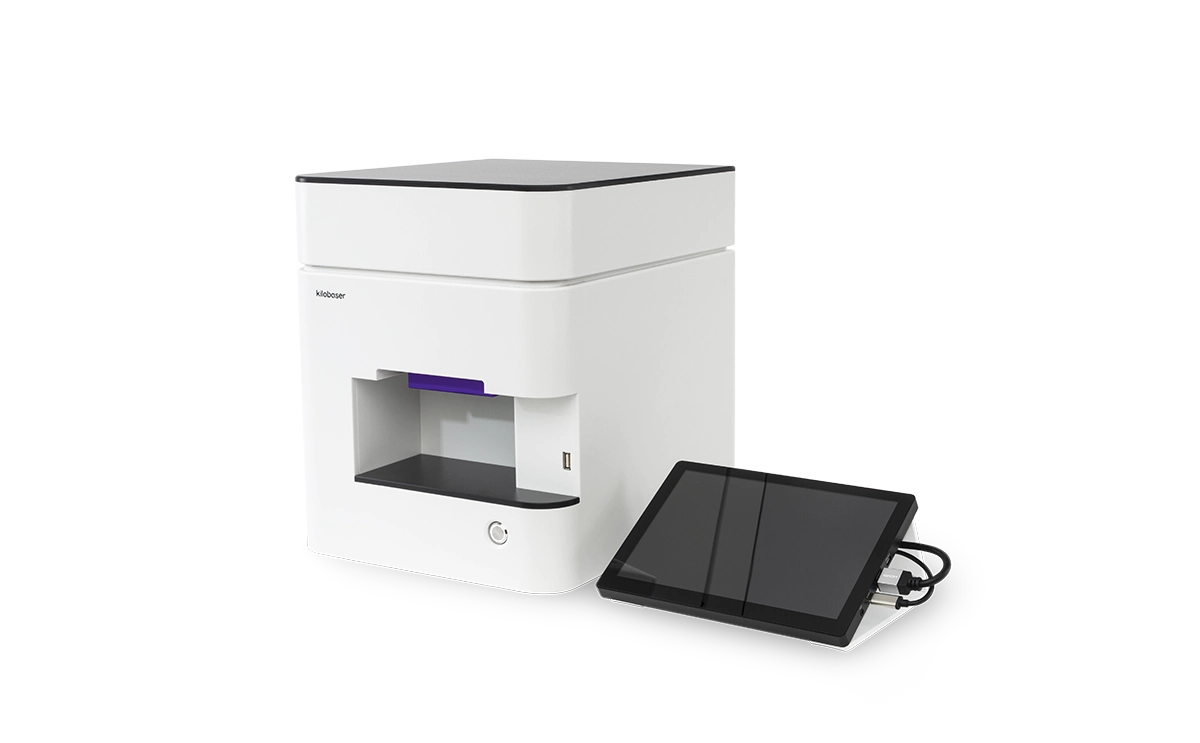
How to synthesize DNA with Kilobaser?
DNA synthesis should not be a task you have to struggle with. You want to get your DNA as easily and quickly as possible. That’s why we designed Kilobaser to be especially user-friendly.
Step by Step guide to synthesizing DNA with Kilobaser
Step 1:
Enter your sequence on the touchscreen or connected PC.
Step 2:
Follow the steps shown on the Screen
Open Lid
Remove placeholder
Insert microfluidic chip and standard 0,2 mL PCR vial
Close Lid
The synthesis is started automatically after the lid is closed.
Step 3:
As soon as the synthesis is finished (~2h), you can run a synthesis again or return the Kilobaser to the initial state.
Add sequence:
Repeat the above steps. Make sure you insert an unused microfluidic chip.
Finish up:
The Screen will tell you what to do
Open Lid
Remove microfluidic chip and PCR Vial
Insert placeholder
Close Lid
Note:
Kilobaser needs a gas supply to function. The reagent cartridge is already inserted, containing all reagents needed for your DNA product. Learn more about how to connect a gas supply and how to insert and replace the cartridge.
You want to learn more about Kilobaser?
You are only 3 steps away from your ready-to-use DNA. Take a closer look and let us explain all the details in your exclusive demo!

Share this article: